In Mautic, you can manage user permissions to mitigate error and maintain privacy. This feature is especially useful if you have multiple Mautic users who each play a different role in your team.
When you create a new Mautic user, you can set any necessary permissions by selecting which role you want them to occupy. When your school first being using our Mautic system, HEM will create roles with appropriate permissions for your team according to your specifications, but you can also create new roles at any time you need to. If you want to edit the permissions of an existing contact, you can do so as well.
Manage User Permissions of New Contacts
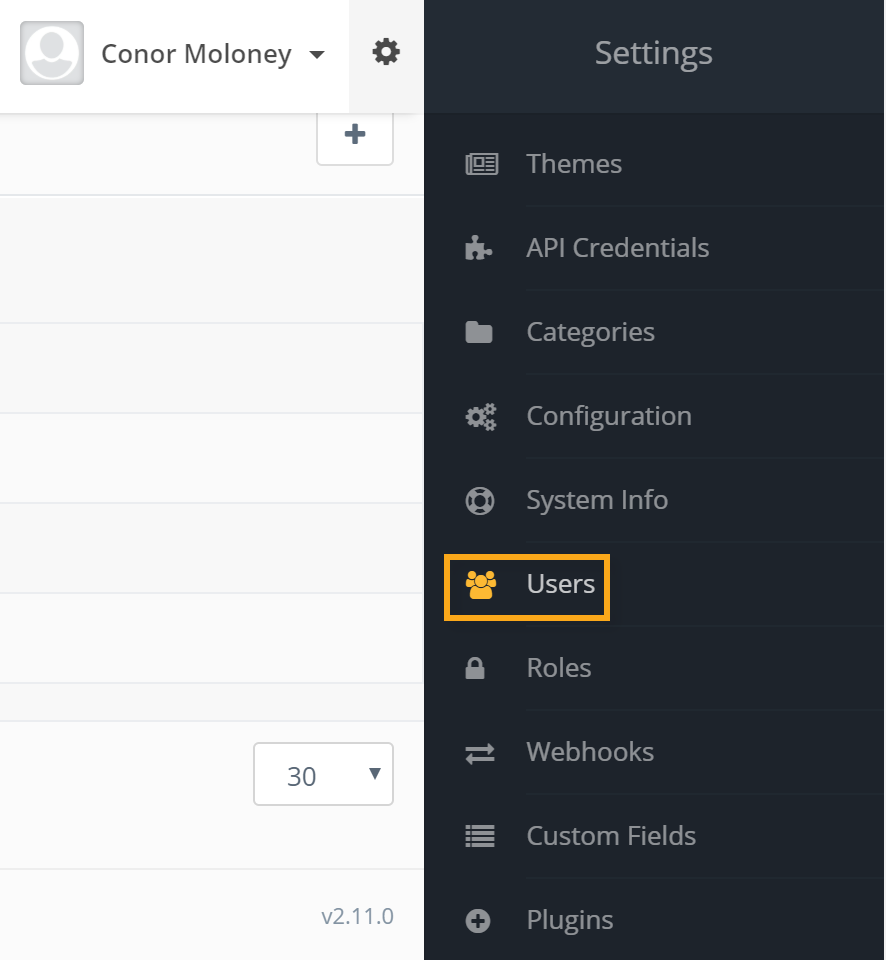
To create a new user with a specific role, first click the gear icon at the top right-hand corner of your screen.

A ‘Settings’ sidebar will then open up. Click ‘Users.’

There, you can create a new user by clicking ‘New’ in the top right-hand corner.

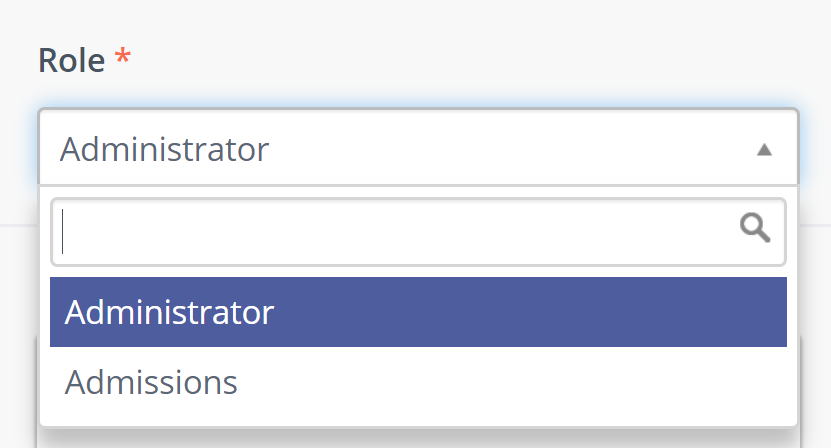
In the ‘New User’ builder, you can manage the permissions of your new user by selecting which role they are to occupy. To do so, locate the ‘Role’ field on the left-hand side and choose a role using the drop-down menu.

Once you’re done, simply press ‘Apply’ in the top right-hand corner.

Manage User Permissions of Existing Contacts
If you want to alter the permissions of existing contacts, all you need to do is change their role. To do so, first navigate to the ‘Users’ section of Mautic by clicking the gear icon at the top right-hand corner of your screen.

A ‘Settings’ sidebar will then open up. Click ‘Users.’

You’ll then be able to see all your users, as well as their roles. To edit their role, simply click on the user’s name.

You’ll then be brought to the user page, where you can edit their details. To change a user’s permissions, switch them to another role by choosing an alternate option from the ‘Role’ drop-down menu.

Once you are happy with the user permissions you’ve set, click ‘Apply’ in the top right-hand corner. If, however, you want to exit the user screen after making your changes, you can press Save & Close. Alternatively, if you decide to keep the user permissions as they previously were, you can press ‘Cancel.’

Managing Role Permissions
If you want to change the permissions of a role, simply go the Roles menu and select the role you wish to edit. If the role you are editing has full system access, you will need to turn it off in order to be able to edit its permissions. Once this is done, click on the Permissions tab:

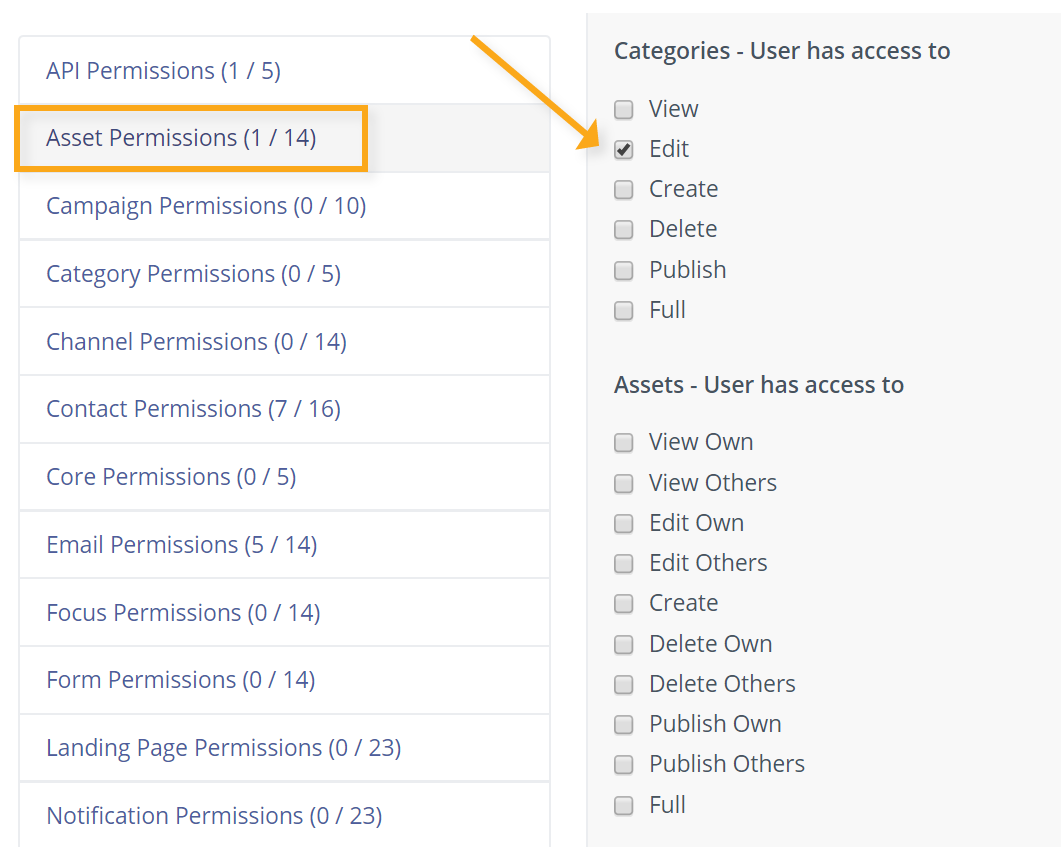
You will then be shown a list of all the available permissions, grouped into categories. To add or remove specific permissions, simply click on the relevant category, and then check or uncheck the permission you wish to change:

Keep in mind that changing the permissions on a role will mean that the permissions of all users in that role will be changed. If you only want to change the permissions of a specific user or users but not others in the same role, you will need to create a new role to do so.


